
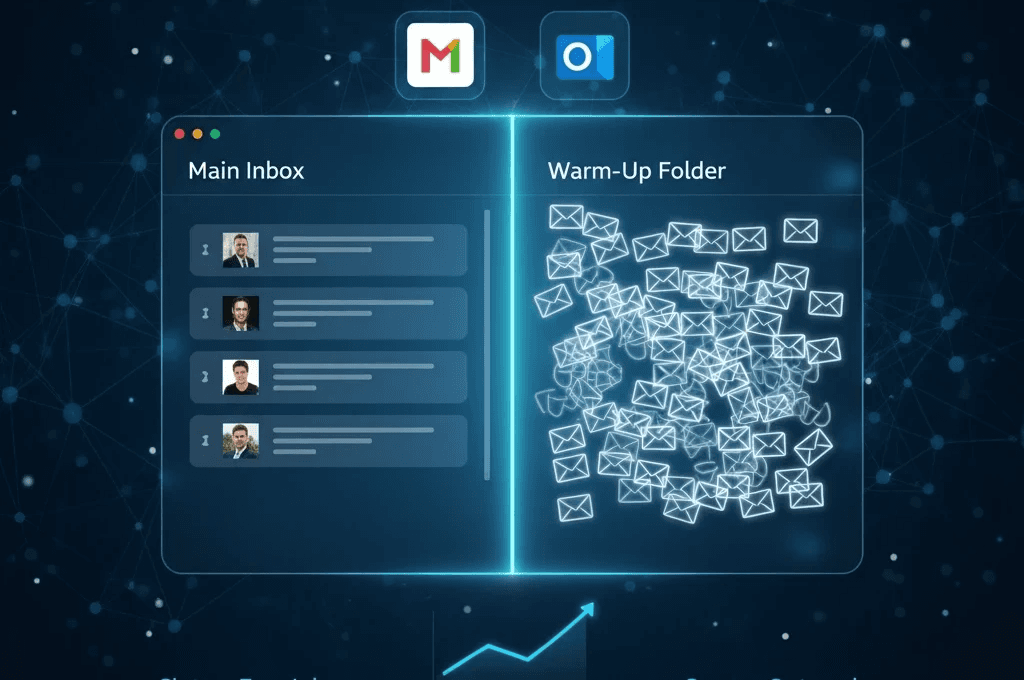
Email filters automatically sort incoming messages based on conditions such as the sender, subject line, keywords, recipients, or other message details. Gmail calls these rules "filters," while Outlook uses "rules" to perform similar actions.
You can use email filters to organize messages, automatically apply labels, move emails into folders, mark messages as read, archive messages, or manage unwanted mail. This guide explains how email filters work and shows you how to create and manage filters in both Gmail and Outlook.
How to Create Email Filters in Gmail
Gmail lets you create filters based on conditions such as the sender, recipient, subject, keywords, attachments, and other search criteria. A filter can then automatically apply actions such as labeling, archiving, deleting, marking messages as read, or forwarding them.
To create a Gmail filter:
Open Gmail.
Click the Show search options icon in the search bar.
Enter the criteria you want to use for the filter.
Click Create filter.
Choose the action Gmail should take when a message matches the criteria.
Click Create filter again.
For example, you can create a filter that automatically labels emails from a specific sender, archives newsletters, or sends messages containing a particular subject keyword to a dedicated folder/label.
What Is an Email Filter?
An email filter is a rule that automatically organizes incoming messages according to conditions you choose. Depending on the email service, a filter can identify messages by sender, recipient, subject, keywords, attachments, or other message properties.
For example, you can create an email filter that:
Moves emails from a specific sender into a folder
Applies a label to messages containing a certain keyword
Archives newsletters automatically
Marks specific messages as read
Sends certain messages to a designated folder
Filters emails from a particular domain
Helps separate work, personal, or automated emails
Gmail uses the term filters, while Microsoft Outlook generally uses rules for similar automated inbox actions.
How Do Email Filters Work?
Email filters work by checking incoming messages against conditions that you define. When a message matches those conditions, the email service performs one or more actions automatically.
A filter usually has two parts:
Condition: What should the email service look for?
Action: What should happen when the condition matches?
For example:
Condition | Action |
|---|---|
From a specific sender | Move to a folder |
Subject contains "invoice" | Apply an Invoice label |
From a specific domain | Archive |
Contains a specific keyword | Apply a label |
Sent directly to you | Keep in the inbox |
The exact options vary between Gmail and Outlook, but the basic concept is the same: define a condition, choose an action, and let the email service handle matching messages automatically.
How to Check if Your Cold Emails Are Being Filtered in Gmail
Before sending a larger cold email campaign, it’s useful to test where your emails are actually landing. A message may reach Gmail successfully but still be placed in Spam or another mailbox location instead of the recipient’s primary inbox.
Step 1: Send a Test Email
Send a test version of your cold email to a Gmail account that you control. Use the same sending domain, email account, subject line, and content that you plan to use in your campaign.
Step 2: Check the Inbox
Log in to the Gmail account that received your test email and check whether the message arrived in the Inbox.
If you don’t see it there, search for the sender's email address or the subject line.
Step 3: Search the Spam Folder
In Gmail’s search bar, type:
in:spam
You can also search for your sender address or subject line together with the Spam search operator to check whether your test email was filtered into Spam.
If your message appears there, Gmail has accepted the email but classified it as unwanted or suspicious.
Step 4: Search All Mail
If you still cannot find the message, search:
in:all
This allows you to search across your mailbox and see whether the email landed somewhere other than the main Inbox.
You can search using your sender address, domain, or subject line to locate the exact test message.
Step 5: Review the Results
Check where your test email landed:
Inbox: The message reached the inbox normally.
Spam: Gmail filtered the message as unwanted.
Another category or location: The email was delivered but did not appear in the primary inbox.
Not found: Review your sending logs and email authentication to determine whether the message was delivered successfully.
Repeat this test after making changes to your sending setup, authentication, email content, or sending practices. Testing multiple Gmail accounts can also provide a broader picture of how your emails are being delivered.
How to Create Email Filters in Outlook
Outlook uses rules to automatically organize and manage incoming email. A rule can move messages to a folder, change their importance, delete them, categorize them, or perform other actions when specific conditions are met.
To create a rule in Outlook on the web:
Open Outlook.
Go to Settings.
Select Mail → Rules.
Select Add new rule.
Give the rule a name.
Choose the condition that should trigger the rule.
Choose the action Outlook should take.
Add exceptions if needed.
Save the rule.
You can also create a rule directly from an email by selecting the message and choosing the option to create a rule.
How to Apply a Gmail Filter to Existing Emails
When creating a Gmail filter, you can also choose to apply it to conversations that already match your conditions.
For example, if you create a filter for emails from a specific sender, Gmail can apply the selected action to existing matching conversations as well as future messages.
To apply a filter to existing emails:
Open Gmail.
Go to Settings → See all settings.
Open Filters and Blocked Addresses.
Create a new filter or edit an existing filter.
Select the option to apply the filter to matching conversations when it is available.
Choose the actions you want Gmail to perform.
Save the filter.
This is useful when you want to organize older messages instead of applying the filter only to new incoming email.
Step by Step Guide to Creating Warm Up Email Filters in Outlook
If you’re using Microsoft Outlook for your email warm-up process, setting up filters (rules) is just as simple and effective as in Gmail. By creating a dedicated rule for warm-up emails, you can ensure your inbox remains clutter-free while still maintaining visibility over your email activity.
Step 1: Create a Warm Up Folder
Log in to your Outlook account and go to your folder list.
Click New Folder and name it Instantly Warm Up (or any name you prefer).
This folder will automatically collect all your warm up messages, keeping your main inbox organized and distraction free.
Step 2: Create a Rule
Open Settings → View all Outlook settings → Mail → Rules.
Click Add new rule and set a condition:
Choose Subject or Body includes, then enter your warm-up tag (as provided by your email warm-up tool).
Gmail Filters vs Outlook Rules
Gmail filters and Outlook rules perform similar tasks, although the terminology and available options differ.
Feature | Gmail | Outlook |
|---|---|---|
Automated inbox organization | Filters | Rules |
Filter by sender | Yes | Yes |
Filter by subject | Yes | Yes |
Filter by keywords | Yes | Yes |
Move messages | Yes | Yes |
Apply labels/categories | Labels | Categories |
Archive messages | Yes | Yes |
Mark messages as read | Yes | Yes |
Create multiple conditions | Yes | Yes |
The main difference is terminology: Gmail calls them filters, while Outlook generally calls them rules. Both can automate common inbox-management tasks.
Benefits of Filtering Warm-Up Emails
Filtering warm-up emails is a simple yet powerful step toward maintaining a clean, organized, and efficient inbox. Whether you’re using Gmail or Outlook, setting up dedicated filters ensures your email warm-up process runs seamlessly while keeping your main inbox free from unnecessary clutter
Cleaner Inbox
Warm-up filters automatically sort and move non-essential warm-up emails into a separate folder, keeping your main inbox neat and focused. This helps you quickly access important messages without being distracted by system-generated warm-up traffic.Improved Organization
All your warm-up emails are stored in a dedicated folder, making it easier to track progress, monitor deliverability, and manage your email reputation. This organization ensures you always know where to find specific warm-up data without digging through countless messages.Better Focus and Productivity
With your primary inbox reserved only for essential communications, you can concentrate on what truly matters your clients, leads, and business operations. A distraction-free workspace means higher productivity and a smoother workflow.Enhanced Deliverability Management
Filtering warm-up emails allows you to observe patterns and analyze engagement without interfering with your active outreach campaigns. It helps maintain consistent deliverability while improving your sender reputation.
Common Mistakes to Avoid When Setting Up Warm Up Filters
Even small missteps in your filter setup can affect your inbox organization and warm up results. Here are common mistakes to avoid:
Incorrect filter rules: Using broad terms may accidentally filter important client emails. Always use precise tags from your warm-up tool.
Forgetting to apply filters to existing emails: Ensure Apply filter to matching conversations is checked so older warm up emails are organized too.
Not marking emails as read: Leaving warm-up emails unread clutters your inbox and makes it harder to spot important messages.
Skipping folder labeling: Without proper folders, even filtered emails become messy and hard to manage.
Avoiding these mistakes ensures your filters work flawlessly and your warm up process remains smooth and automated.
Best Practices for Managing Warm Up Email Folders
A well-managed warm up folder helps maintain visibility and control over your warm-up activity. Follow these best practices for optimal results:
Review once daily: Quickly scan your Warm-Up folder to ensure filters are working correctly and no essential emails are misplaced.
Archive weekly: Move older warm up threads to an archive folder to keep your workspace tidy.
Monitor engagement: Check open rates and replies occasionally to confirm your warm-up system is functioning effectively.
Sync across tools: If you’re using both Gmail and Outlook, replicate your filter logic across accounts for consistent results.
By maintaining your warm-up folder properly, you’ll stay organized and ensure your sender reputation keeps improving.
Automating Warm Up Filters with Email Tools
Automation takes your warm-up management to the next level. Instead of manually creating filters, modern tools like LiteMail, Instantly, or Warmbox allow automatic tagging and filtering.
Auto tag detection: The tool auto-applies tags that Gmail and Outlook can recognize for filter creation.
Smart rules integration: Some tools connect directly with Gmail’s API, creating filters automatically without manual setup.
Performance tracking: Automation platforms provide analytics on how your warm-up emails are performing over time.
This hands free setup saves time, reduces errors, and ensures continuous optimization of your email warm-up process.
Monitoring and Optimizing Warm Up Performance
Once your warm up filters are active, monitor your email performance to ensure everything runs smoothly.
Check deliverability rates: Tools like Mail-tester or Google Postmaster can show whether your domain reputation is improving.
Adjust frequency: Gradually increase your daily email volume to mimic natural sending behavior.
Track inbox placement: Keep an eye on how often your emails land in the main inbox versus promotions or spam.
Regular monitoring helps you fine-tune your warm up strategy and maintain a strong sender reputation across all campaigns.
How LiteMail Simplifies Warm Up Management
LiteMail makes managing warm-up filters and deliverability effortless. With automated domain setup, smart email routing, and analytics dashboards, it helps businesses:
Set up Gmail and Outlook filters automatically
Track performance metrics like open and reply rates
Keep inboxes clutter-free while improving sender health
Maintain security with SPF, DKIM, and DMARC integration
With LiteMail, warm up management becomes smarter, faster, and fully optimized for success.
Key Benefits of Setting Up Warm Up Filters
Boosts sender reputation: Consistent warm-up activity improves deliverability and credibility.
Enhances productivity: Keeps your main inbox focused on high-priority tasks.
Improves deliverability tracking: Makes it easy to monitor how your sender reputation evolves.
Saves time: Automation and organized filters streamline your daily workflow.
Reduces risk: Prevents mistakes like missing important client messages or clutter buildup.
Warm-up filters are more than an organization tool they’re a strategic asset for long term email success.
Conclusion
Creating and managing email warm-up filters in Gmail and Outlook isn’t just about a cleaner inbox it’s about smarter outreach. By filtering warm-up messages, you maintain focus, ensure steady sender reputation growth, and streamline campaign workflows. Whether you do it manually or through automation tools like LiteMail, efficient filter management is the foundation for sustained email deliverability and business growth.
FAQ
What is an email filter?
An email filter is a rule that automatically organizes messages based on conditions such as the sender, subject, keywords, recipient, or other message properties. Gmail calls these rules filters, while Outlook generally calls them rules.
How do I create an email filter in Gmail?
Open Gmail and go to Settings → See all settings → Filters and Blocked Addresses → Create a new filter. Choose your conditions, select the actions Gmail should perform, and save the filter.
How do I filter emails in Gmail by sender?
Create a Gmail filter and enter the sender's email address in the From field. You can then choose an action such as applying a label, archiving the message, marking it as read, or moving it out of the main inbox.
Can Gmail filters apply to existing emails?
Yes. When creating or editing a Gmail filter, you can apply the selected action to matching existing conversations when that option is available. This lets you organize older messages as well as future messages.
How do I create a filter in Outlook?
Outlook uses rules for automated email organization. Open Settings → Mail → Rules, select Add new rule, choose the conditions and actions, and save the rule.
What is the difference between Gmail filters and Outlook rules?
Gmail uses the term filters, while Outlook generally uses rules. Both allow you to automatically organize messages based on conditions such as sender, subject, or keywords.
Can I filter emails from a specific domain?
Yes. Gmail and Outlook can be configured to organize messages based on the sender or domain. This can be useful for separating messages from clients, companies, newsletters, or other groups.
Do email filters improve email deliverability?
Email filters primarily organize messages inside your mailbox. They should not be confused with SPF, DKIM, DMARC, sender reputation, or the spam-filtering systems used by email providers.
Ready to Organize Your Cold Email Infrastructure?
Explore LiteMail's Google Workspace and Microsoft 365 inbox options for cold email campaigns.