
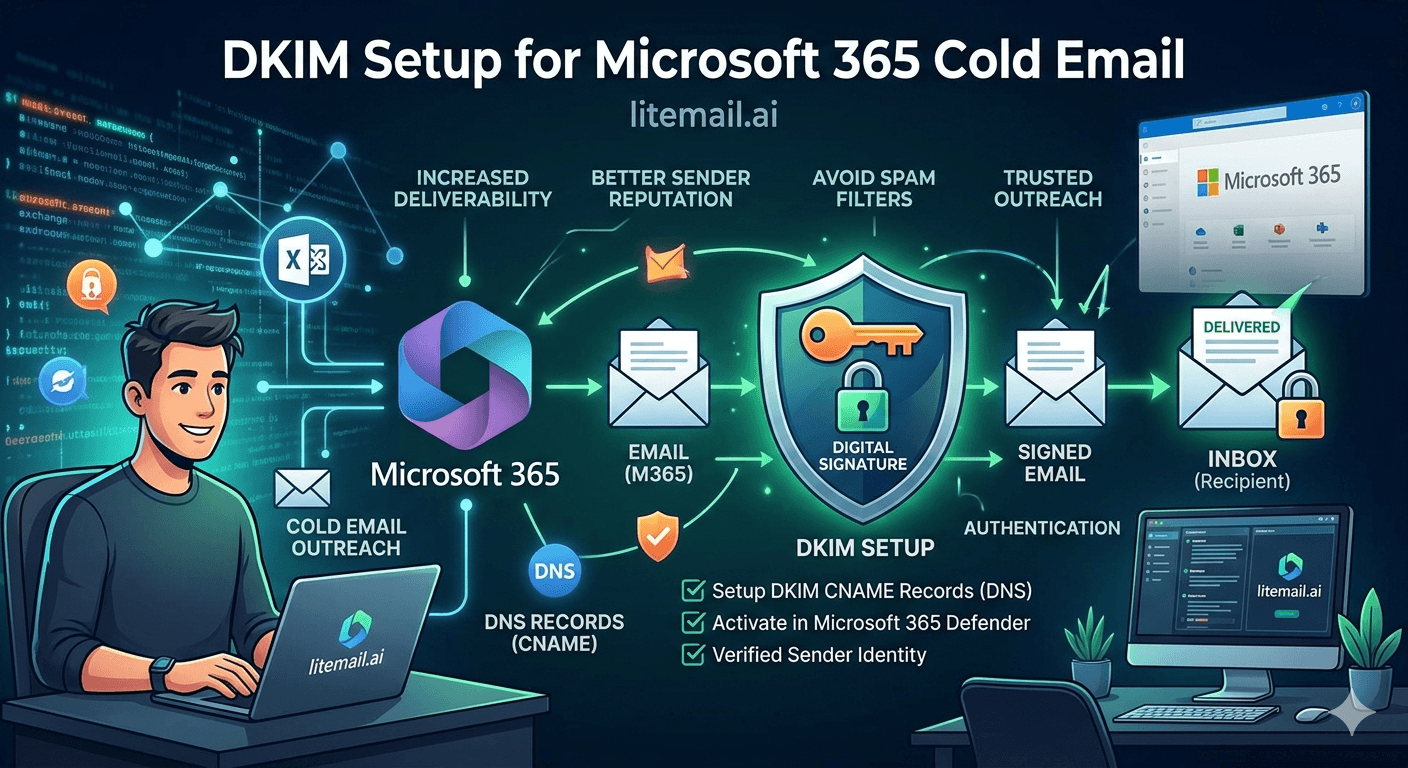
DKIM is the single most impactful DNS authentication record for cold email deliverability — and Microsoft 365 DKIM setup has a specific failure mode that affects a large percentage of teams who configure it manually. The issue: MS365 generates two DKIM selector keys (selector1 and selector2) by default, and the configuration requires publishing CNAME records rather than TXT records — a distinction that confuses most guides and causes silent DKIM failures that look like deliverability problems with no obvious cause.
Why DKIM Matters More Than Any Other DNS Record for Cold Email
💡 TL;DR
DKIM (DomainKeys Identified Mail) is the cryptographic authentication record that proves an email was sent by an authorised server for your domain — and it's the record receiving servers weight most heavily for deliverability decisions. A DKIM failure causes immediate reputation damage: Gmail and Outlook both treat DKIM-failing emails with maximum scrutiny, often routing them to spam regardless of sending history. Litemail pre-warmed MS365 inboxes ($4.99/inbox) configure DKIM automatically using the correct MS365 CNAME method, eliminating the most common MS365 DKIM configuration failure. If you're setting it up manually, here's exactly how.
This guide covers the complete MS365 DKIM setup process — the correct CNAME method, selector key configuration, verification, DMARC alignment, and the specific errors that cause MS365 DKIM to fail silently.
How MS365 DKIM Works — The CNAME Method (Not TXT)
Most DKIM guides — including many generic email authentication guides — describe DKIM as a TXT record in your DNS. This is technically correct for many providers. Microsoft 365 uses a different method: CNAME records that point to Microsoft's signing infrastructure, rather than directly hosting the DKIM key in your DNS.
This matters because if you follow a generic TXT-record DKIM guide for MS365, you'll publish the wrong record type. The DKIM check will fail, and MXToolbox will show DKIM: FAIL — but if you searched for a "TXT record DKIM setup" guide, you won't understand why.
The MS365 DKIM method uses two CNAME records, one for each selector key. These CNAME records point to Microsoft's DKIM infrastructure, where the actual signing key is hosted and rotated automatically. You never touch the private key directly — Microsoft manages it.
Step-by-Step MS365 DKIM Setup
Before starting, confirm you have:
Admin access to Microsoft 365 Admin Center for the sending domain
DNS edit access to the sending domain's registrar (Namecheap, Cloudflare, GoDaddy, etc.)
The sending domain already configured in MS365 (verified domain)
Step 1 — Get the MS365 DKIM CNAME Records
Log in to Microsoft 365 Defender: security.microsoft.com
Navigate to Email & Collaboration → Policies & Rules → Threat Policies → Email Authentication Settings
Click DKIM → select your sending domain from the domain list
In the DKIM panel, you'll see two CNAME records with the specific values Microsoft has generated for your domain. They look like:
selector1._domainkey.yourdomain.com → selector1-yourdomain-com._domainkey.yourtenant.onmicrosoft.com
selector2._domainkey.yourdomain.com → selector2-yourdomain-com._domainkey.yourtenant.onmicrosoft.comCopy both CNAME values exactly — do not manually type them. Even a single character error causes DKIM failure.
Step 2 — Publish the CNAME Records in Your DNS
Log in to your domain registrar's DNS management panel
Add a new CNAME record:
Host/Name:selector1._domainkey
Value/Target: the full CNAME target from Step 1 for selector1
TTL: 3600 (or leave as default)
Add a second CNAME record:
Host/Name:selector2._domainkey
Value/Target: the full CNAME target from Step 1 for selector2
TTL: 3600
Save both records. DNS propagation takes 5 minutes to 48 hours depending on your registrar and TTL settings. Most registrars propagate within 30–60 minutes.
Step 3 — Enable DKIM Signing in MS365
Return to Microsoft 365 Defender → Email Authentication Settings → DKIM
Select your domain and toggle DKIM signing to Enabled
Wait 15–30 minutes for MS365 to activate the keys against the published CNAME records
Step 4 — Verify DKIM Is Working
Run an MXToolbox DKIM check: mxtoolbox.com/dkim — enter your sending domain and the selector (selector1)
Result should show: DKIM: PASS with the key details
Send a test email from the inbox to a Gmail account you control. Open → three dots → Show Original. Verify DKIM: PASS in the headers.
Also run Mail-Tester.com — send from the inbox, confirm the DKIM section shows as passed (green)
Common MS365 DKIM Setup Errors and Fixes
Error | Cause | Fix |
|---|---|---|
DKIM: FAIL after 48 hours | TXT record published instead of CNAME | Delete TXT records, publish CNAME records as described above |
DKIM selector not found | Typo in host name (e.g., "selector1_domainkey" missing the dot) | Delete and recreate CNAME records. Host name must include the dot: selector1._domainkey |
DKIM: PASS but emails still going to spam | DKIM is correct — SPF or DMARC failing, or inbox reputation low | Run full MXToolbox check on SPF and DMARC separately. Check Postmaster/SNDS for reputation issues |
"Enable DKIM" button greyed out in MS365 Defender | CNAME records not yet propagated when you tried to enable | Wait 1 hour for DNS propagation. Then return to MS365 Defender and enable DKIM again. |
DKIM FAIL on selector2 but PASS on selector1 | Only one CNAME record was published, not both | Publish the missing selector CNAME record |
DMARC Alignment With MS365 DKIM
DKIM alone isn't sufficient for full email authentication — DMARC ties SPF and DKIM together and tells receiving servers what to do when authentication fails. For MS365 cold email sending, DMARC alignment requires that your DMARC record matches your sending domain, and that DKIM is signing from that same domain (not a subdomain).
Your DMARC record for the sending domain should be:
v=DMARC1; p=none; rua=mailto:postmaster@yourdomain.com; ruf=mailto:postmaster@yourdomain.com; fo=1
Start at p=none — monitoring only. After 30 days of clean sending with DKIM and SPF both passing, move to p=quarantine. After 60 days of clean history, p=reject. The progression matters: jumping straight to p=reject with a misconfigured SPF or DKIM causes legitimate email to be rejected.
Litemail configures DMARC automatically on every MS365 inbox delivery — starting at p=none and providing recommendations for the policy progression timeline. No manual DMARC configuration required.
Why Manual DKIM Setup Gets Skipped — The Automated Alternative
Manual MS365 DKIM setup takes 15–30 minutes per sending domain, requires correct CNAME record syntax, and has 5–6 common error modes that cause silent DKIM failures. For agencies managing 10+ client sending domains, the manual setup time adds up to hours per batch of new clients — and any misconfiguration affects campaign deliverability until it's found and fixed.
Litemail pre-warmed MS365 inboxes include automated DKIM (both selectors), SPF, and DMARC configuration on every inbox delivery. The authentication is verified before delivery — you receive inboxes that pass all three DNS checks on arrival, with no manual DNS setup required. This is part of what $4.99/inbox covers: not just the warm-up history, but the authentication infrastructure that makes the inboxes work correctly in cold email campaigns.
DKIM Verification Checklist Before Any Campaign Send
Run this checklist on every MS365 inbox before any campaign email sends. A single item failing means deliverability is degraded.
MXToolbox DKIM check: selector1._domainkey.yourdomain — shows PASS
MXToolbox DKIM check: selector2._domainkey.yourdomain — shows PASS
MXToolbox SPF check: yourdomain — shows PASS, include:spf.protection.outlook.com present
MXToolbox DMARC check: yourdomain — shows DMARC record present
Test email headers: send from the inbox to Gmail, view original, verify DKIM: PASS
Mail-Tester.com score: 9/10 or higher
Microsoft 365 Defender: DKIM signing shows Enabled for the sending domain
Key Takeaways
MS365 DKIM uses CNAME records — not TXT records. Publishing a TXT record instead of CNAME is the most common MS365 DKIM failure, caused by following generic DKIM guides that don't differentiate between providers.
MS365 generates two CNAME records (selector1 and selector2) that must both be published in your DNS. Copy the exact values from Microsoft 365 Defender — don't type them manually.
After publishing CNAME records, wait for DNS propagation (15 minutes to 1 hour for most registrars) before enabling DKIM signing in MS365 Defender. The "Enable DKIM" button will be greyed out until the CNAMEs propagate.
DMARC must be configured alongside DKIM — start at p=none, move to p=quarantine at 30 days clean, p=reject at 60 days. Never skip to p=reject with unverified SPF/DKIM.
Litemail pre-warmed MS365 inboxes include automated DKIM, SPF, and DMARC configuration — all three records correct and verified on delivery. No manual DNS setup required.
Run the full DKIM verification checklist (MXToolbox selector1, selector2, SPF, DMARC — plus test email headers and Mail-Tester) before any campaign send from a new MS365 inbox.
Frequently Asked Questions
How do I set up DKIM for Microsoft 365?
Log in to Microsoft 365 Defender (security.microsoft.com) → Email Authentication Settings → DKIM → select your domain. Copy the two CNAME records shown (selector1 and selector2). Publish both CNAME records in your DNS registrar. Wait for propagation (15 minutes to 1 hour). Return to MS365 Defender and enable DKIM signing. Verify with MXToolbox DKIM check using selector1._domainkey.yourdomain.
Why is my MS365 DKIM failing even after setup?
Most likely cause: TXT record published instead of CNAME. Delete any TXT DKIM records and republish as CNAME records using the values from MS365 Defender. Second most likely: typo in the CNAME host name (selector1._domainkey — the underscore and dot must be exactly right). Third: DNS propagation hasn't completed — wait 1 hour and check again. Run MXToolbox DKIM check for a definitive pass/fail with error details.
Do I need both selector1 and selector2 CNAME records for MS365 DKIM?
Yes. Microsoft 365 uses two DKIM selector keys for rotation — when Microsoft rotates to selector2, emails signed with the current active key still verify against the published selector records. Both CNAMEs must be published. A DKIM failure on selector2 but pass on selector1 (or vice versa) means one CNAME is missing or misconfigured.
How do I verify DKIM is working for my MS365 inbox?
Three verification methods, in order of reliability: (1) MXToolbox DKIM check at mxtoolbox.com/dkim — enter your sending domain and selector1. Should show PASS. (2) Send a test email to Gmail, open → three dots → Show Original, look for "dkim=pass" in the Authentication-Results header. (3) Mail-Tester.com — send from the inbox, check the DKIM section shows green/passed. All three should pass before any campaign sends.
How is Litemail's automated DKIM different from manual setup?
Litemail configures DKIM (both selectors), SPF, and DMARC automatically on every MS365 inbox delivery — using the correct CNAME method for MS365, verified before the inbox is delivered to you. You receive inboxes that pass all three DNS checks on arrival, without touching the DNS configuration yourself. This eliminates the 5–6 common manual DKIM setup error modes that cause silent authentication failures in cold email campaigns. All authentication configuration is covered under Litemail's delivery guarantee — if anything fails, it's fixed before you launch campaigns.
MS365 Inboxes With DKIM Already Configured — Skip the Setup, Start Sending
Litemail pre-warmed MS365 inboxes — $4.99/inbox, DKIM (both selectors), SPF, and DMARC configured automatically and verified on delivery. No manual DNS setup. No common CNAME errors. No authentication failures delaying your campaigns. Delivered in 24 hours. No minimum order.
Get Pre-Warmed MS365 Inboxes from $4.99 →
Automated DKIM/SPF/DMARC · No minimum order · Verified Good/High in Postmaster within 48hrs · US and EU IPs included
About Litemail — Litemail provides pre-warmed Google Workspace and Microsoft 365 inboxes for cold email outreach. From $4.99/inbox with automated DNS setup, dedicated US and EU IPs, 4 to 12 weeks of genuine warm-up history, and full admin access. View pre-warmed inbox plans →
Related reading: SPF/DKIM/DMARC Auto-Setup 2026 · MS365 Cold Email for Agencies 2026 · Troubleshooting MS365 Cold Email · Email Deliverability Tools 2026 Full Comparison · Best Pre-Warmed Inbox Providers 2026 (Ranked)